【神器1】:在线信息图表制作工具
国外的信息可视化行业发展得相当成熟,这也催生了不少在线信息图表制作工具,其中比较知名的有3个,利用它们,五分钟你就能做出一张超好看信息图表!
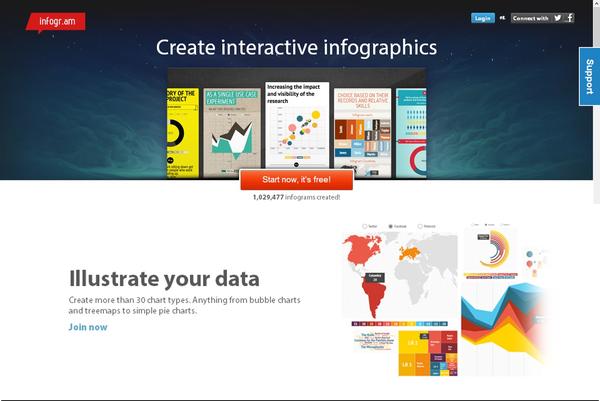
(1)infogram
较早的一个在线制作工具,亮点是支持实时数据刷新,而且制作的信息图表支持在多终端展示。
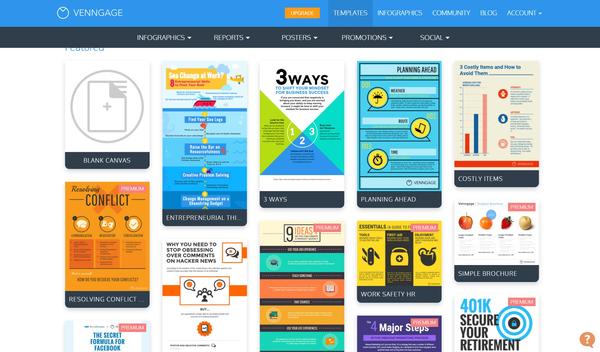
(2)Venngage
这款工具的亮点是自带超多免费模板,超多的版式选择,配色潮流大胆。
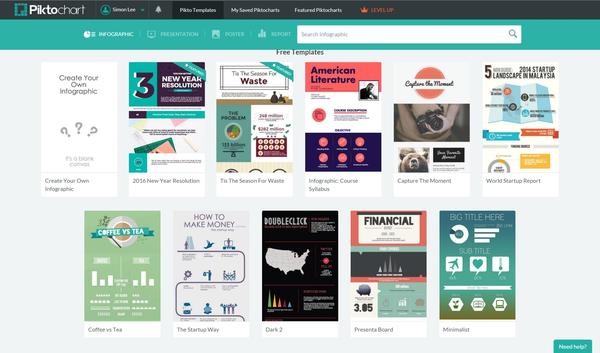
(3)Piktochart
跟上一款非常相似,但免费模板不够多~
用多了你就会发现,这些傻瓜型工具的功能都大同小异,他们唯一的区别就是:各有各好看的模板,好看的图表~
下面以Piktochart为例,简单介绍一下这些工具的功能:
一般来说选好模板后,就能进入到制作页面,左侧是工具栏,右侧是编辑区域,右上角是下载和发布等按钮等~
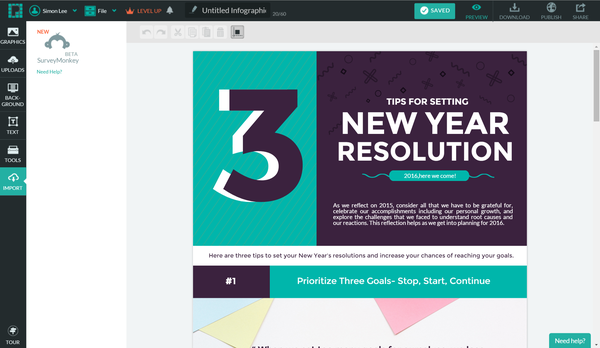
在左侧工具栏中你能配置各种图表,文本框,图标,地图等元素,比如我选中图表控件,就会弹出一个配置窗口,十几种图表类型供你选择和编辑~
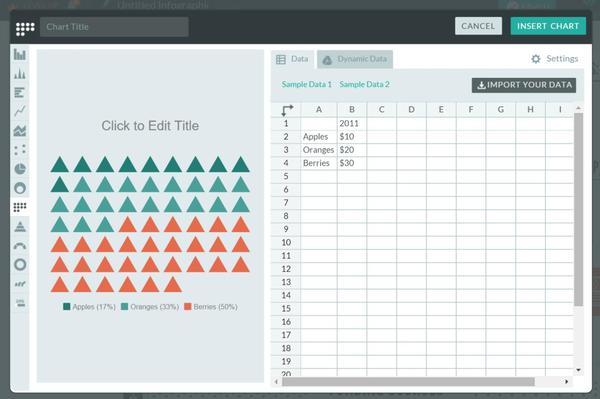
此外,我们还可以直接在模板原有的图表基础上修改数据:
值得一提的是,Piktochart还提供PPT模板,海报模板和新闻模板!
Venngage 也提供类似的模板,而且每个大类下还有细分!

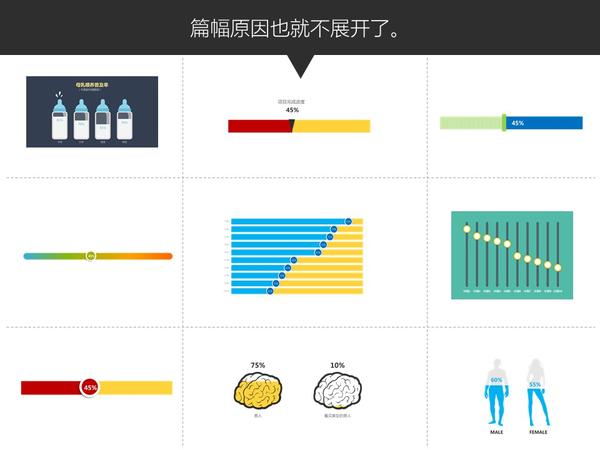
更多强大的功能,大家可以自己逐一试玩,这里就不展开了~我们继续往下说。

上面介绍的工具都很酷炫,但有一个缺点:不支持中文。
你可能需要下面这个国产神器——创客贴
【神器2】创客贴
创客贴是一款简单易用的在线平面设计工具。
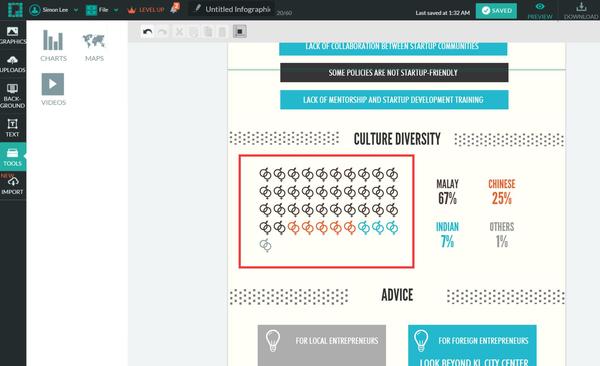
和国外的在线工具类似,看界面你就知道~~利用它也能制作信息图表,而且支持中文输入。
具体操作就不啰嗦啦,大家自行体会。

另外,它还非常接地气,直击痛点。除了可以在线制作信息图表之外,你还可以制作微博封面,公众号文章首图,名片,小卡片等等等等……

当然,作为一个国内新兴的工具,还有很多缺点需要改进~
比如:没有图表控件,图表居然 不能编辑数据…比如这个柱形图,想修改只能自己拉伸…

柱形图还说可以拉伸,但饼图就……

按你胃(anyway),加油优化,造福大家!
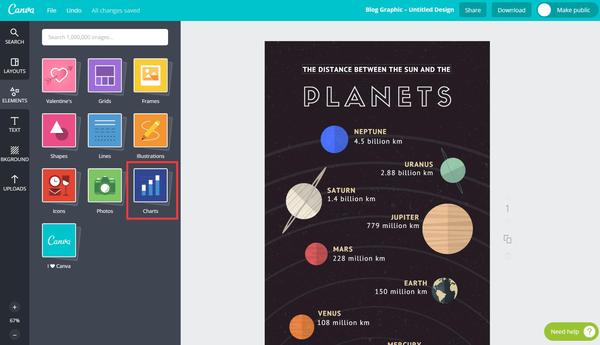
【创客贴的模仿对象】—— Canva
经热心知友提醒,发现创客贴原来模仿的是国外一款超牛逼的在线设计工具Canva,原版的界面长这样:
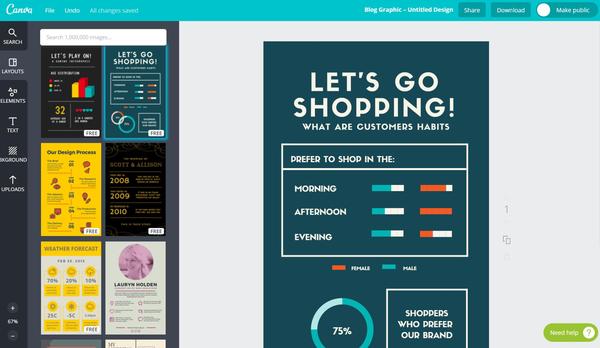
毫无疑问地,Canva也有大量的精美模板,有些居然还有中国元素!尝试了其中一个猴年模板,编辑的时候发现显示的字体是微软雅黑,也就说这款工具也能支持中文编辑!

Canva也提供了很多控件,其中就有图表控件!
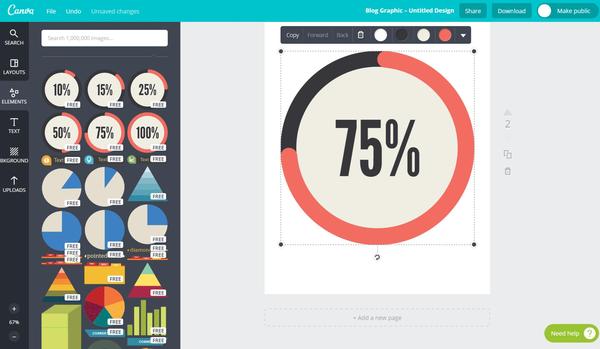
点开图表控件一看,卧槽超多图表模板!!
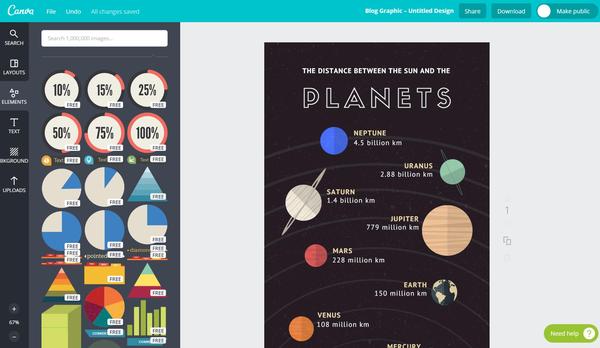
然后拖出来发现…………也是不能编辑数据,只能改颜色,和字体大小,心碎……
好吧,看来做图表还要专业的来。
既然说到图表,就不得不提下面这个神器了:
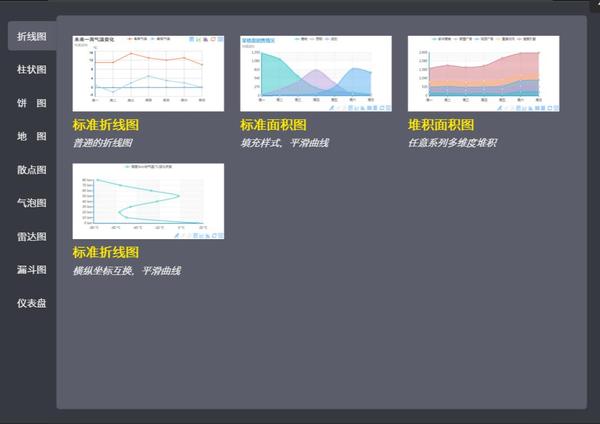
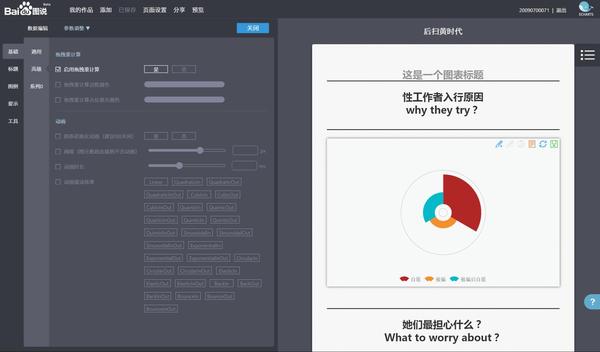
【神器3】百度 · 图说
百度图说是基于百度开源图表插件ECharts的一个傻瓜式图表工具。说人话,就是即使你没有代码基础,也能几分钟内做出一份屌炸的动态可交互图表,而且是H5格式!
图说提供了多种动态图表模板:
还提供了极其详细的配置参数面板,稍微研究一下就能搞懂~
图表配置完毕后,点击【分享】按钮,就会弹出一个分享窗格。此时点击微信图标,还会自动生成二维码!

就这样,你可以利用图说轻松地做出一份H5数据报告了!
这是我当初用图说做的一个小作品——《扫黄》,各位有兴趣可以看看,所有图表都可交互喔~

也许因为这是一个免费的工具,很多功能还不够完善,比如页面过长容易崩溃,比如配置界面还不够简洁人性化等等……
这是一个让人又爱又恨的工具,期待新版本的升级!
说到H5数据报告,这里还有一款H5工具,它也有图表功能。
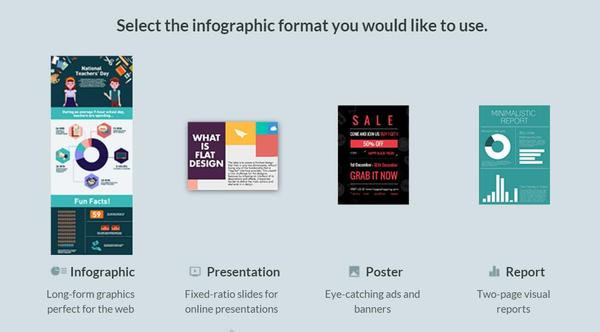
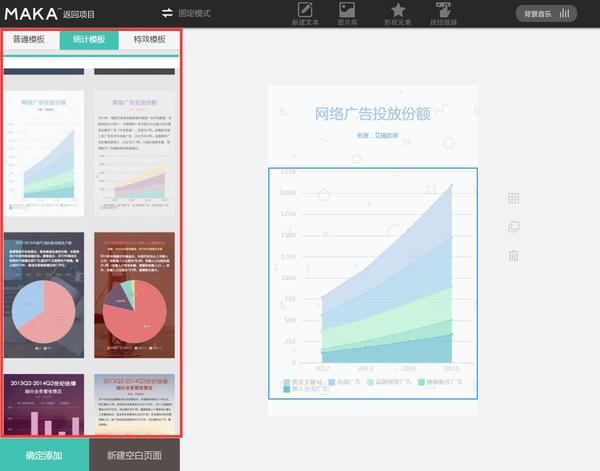
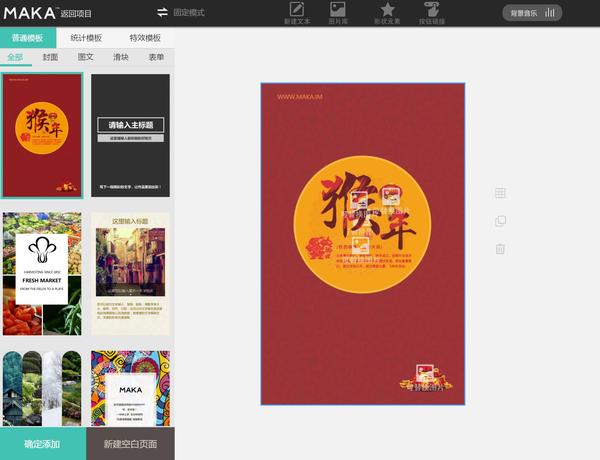
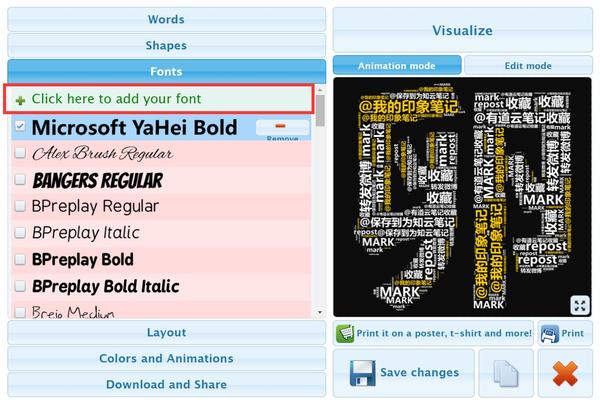
【神器4】『MAKA』免费H5页面
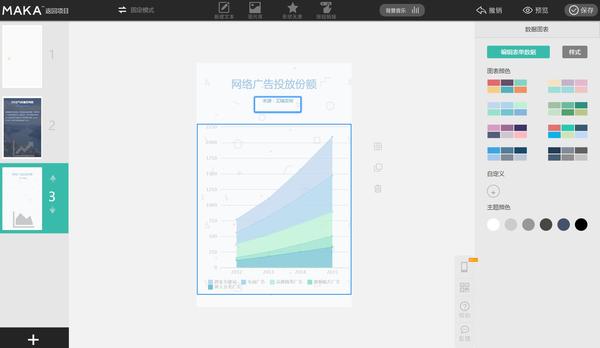
也许很多同学用过MAKA,但目测很少同学用过MAKA的统计模板。统计模板库里包含了多种常用图表样式和版式,修改数据就能直接套用。
在右侧还可以对图表进行简单的设计。
MAKA本来就不是主打图表,图表功能自然不强大,只能拿来应急。但配合它自带的杂志级模板,分分钟也能组装出一份高颜值的H5~
好了,自己去玩呗~
文字云也是可视化中必不可少的元素,这里跪地推荐一款神器:
【神器5】Tagul – Word Cloud Art
前面很多同学也提到了这款强大的文字云工具。
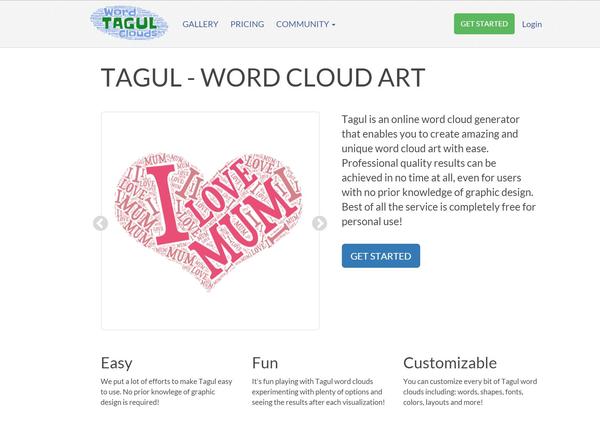
我补充说明一下,有两个超屌的功能你必须要知道:
(1)Tagul支持自定义字体的导入,也就是说可以:支持中文!支持中文!支持中文!
(2)它还能识别各种各样的图片,生成轮廓!

超详细的教程可以看我这篇回答,教你五分钟玩转文字云!
《文字云制作全攻略》
以后,你就可以轻轻松松做出这样的文字云了:


好,装逼完毕,继续往下讲。
其实还有一款很奇葩的文字云工具。
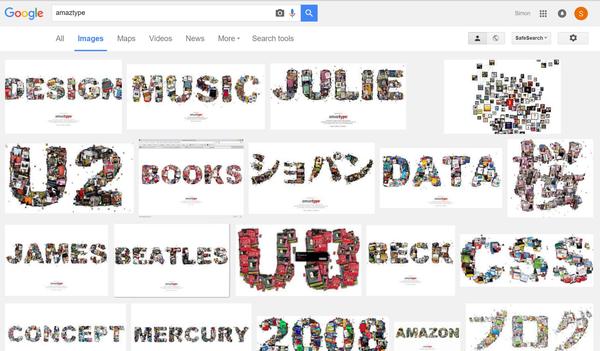
【神器6】:amaztype
这是一款神奇的图书搜索引擎:http://amaztype.tha.jp
它根据从亚马逊上采集的数据,将图书的搜索结果根据你所提供的关键字的字母形状进行排列。换个思路,你可以用这些图书来拼字!而且这是一个日本网站,支持大部分中文!


但目前该网站已停止服务,只能怀念一下了~哭瞎!!
现在,只能到google搜“amaztype”,在搜索结果中看看有没有你想要的文字了:
当然,有同学会问,空有一身牛逼可视化技能,却没有数据源咋办?
别急,一个大数据导航帮到你:
【神器6】:199IT大数据工具导航
与其说这是一个神器,倒不如说这是一个数据采集的神器合集。

在这里你能找到国内国外,各个行业的大数据入口。比如新媒体小编的最爱的两个监测入口:
新媒体排行榜
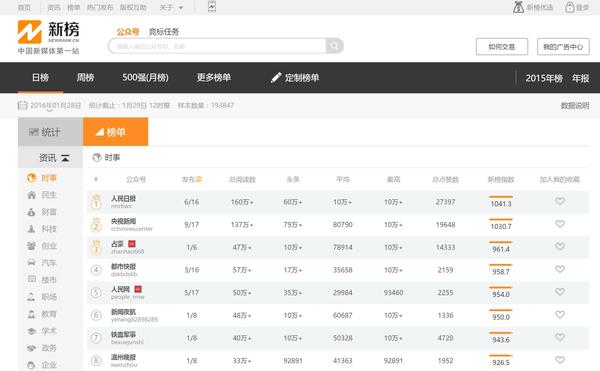
H5传播分析工具

更多数据工具,大家自己按需去取,怎么使用就不展开介绍了~
(更多好玩的工具,后续再添加~~请先看下面,第二部分)
----------------------------------------
看了这么多神器,各有各的酷炫,各有各的牛X。但我更想说的是:
其实很多时候,神器就在你手上,只是被你忽略了而已。
例如你的office。
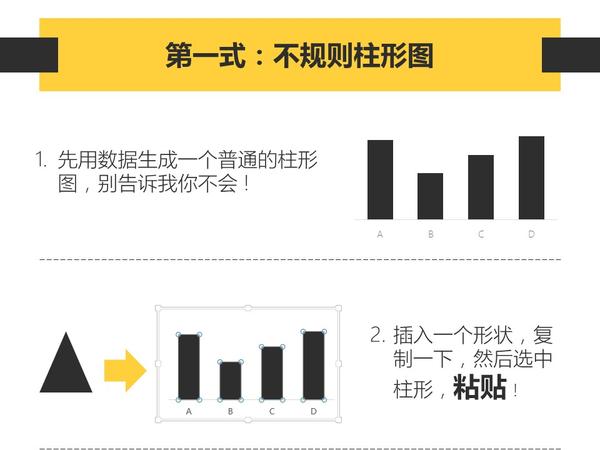
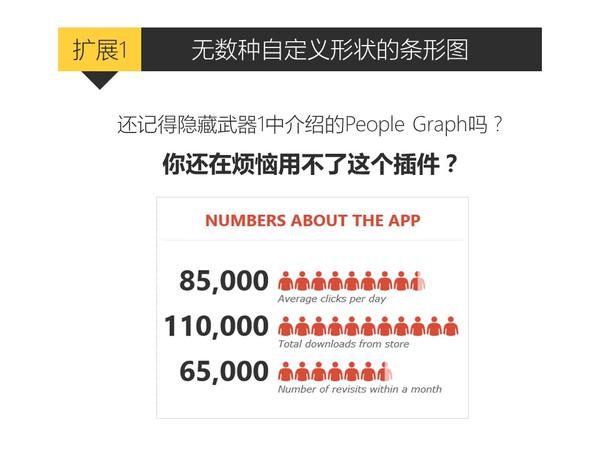
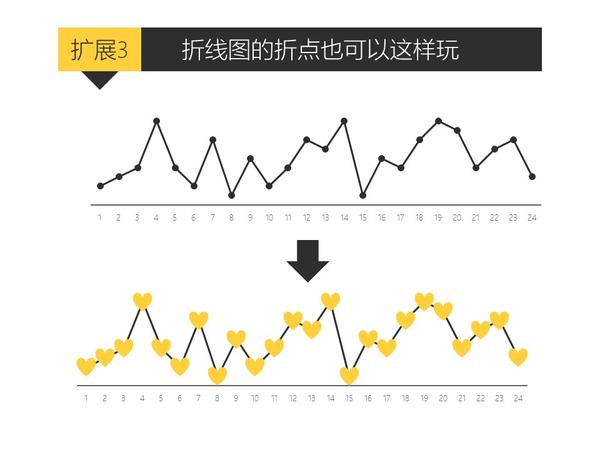
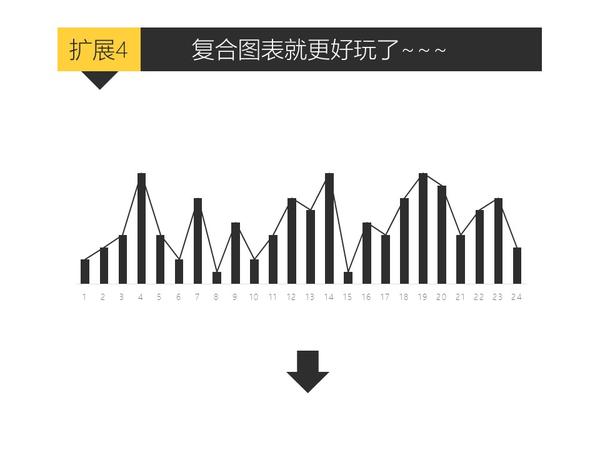
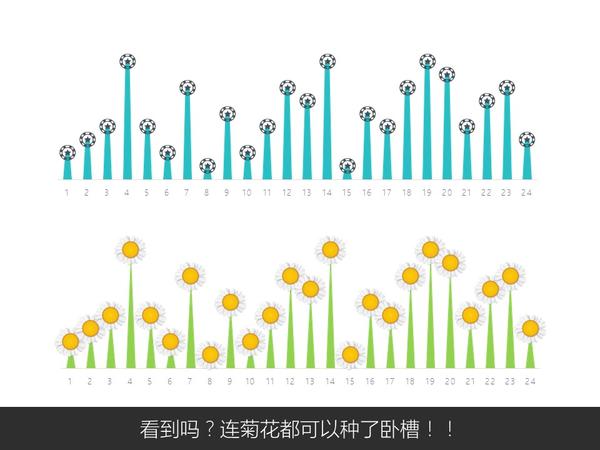
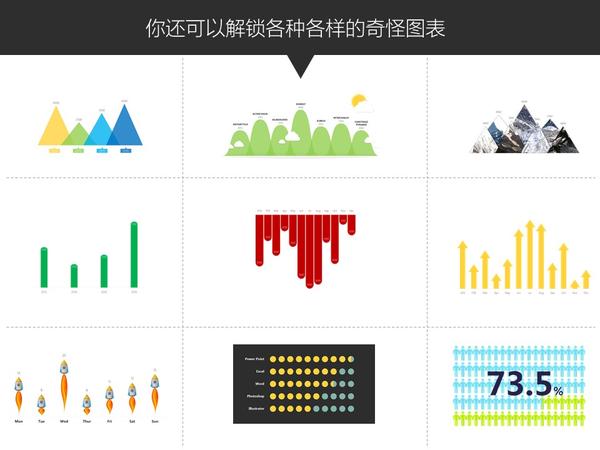
【被忽略的神器1】:PPT
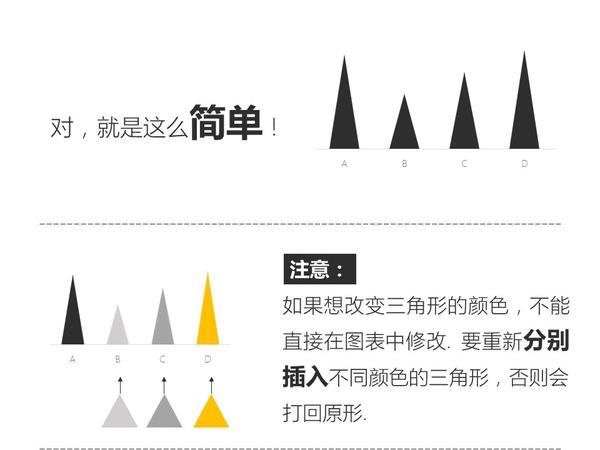
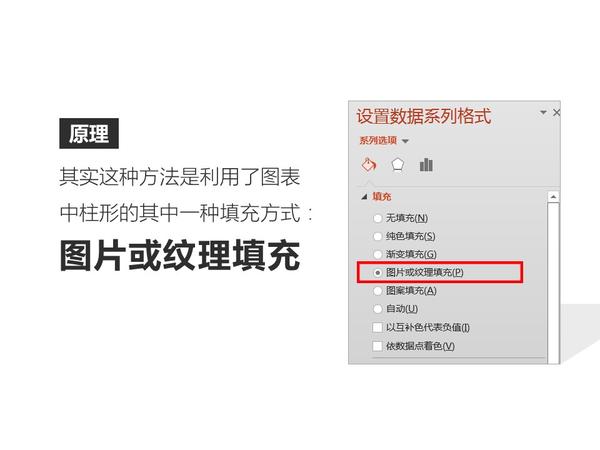
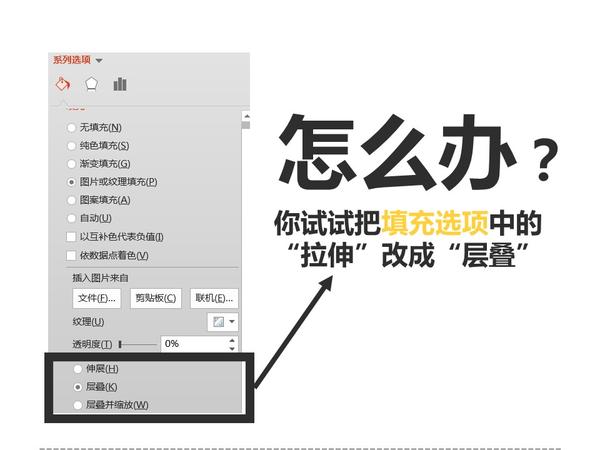
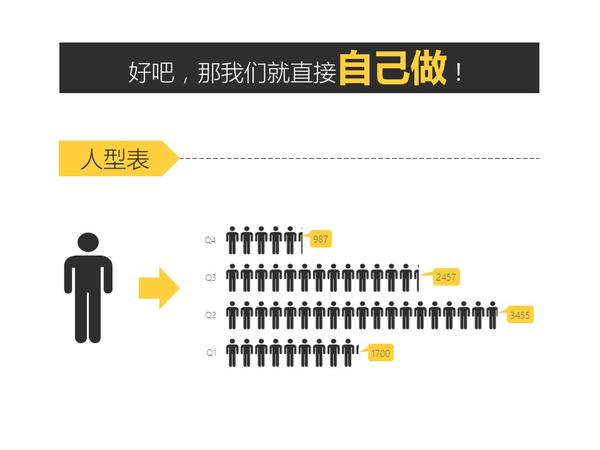
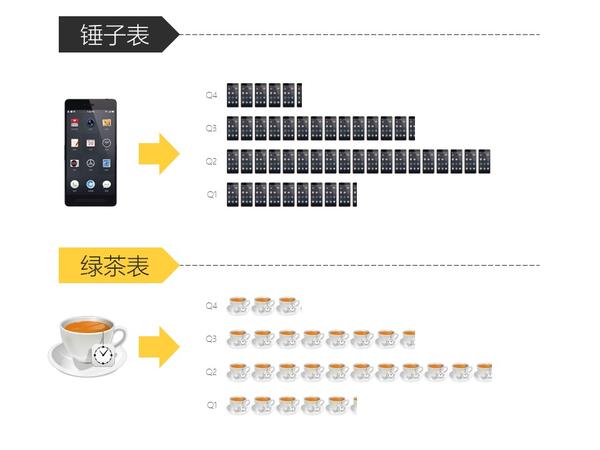
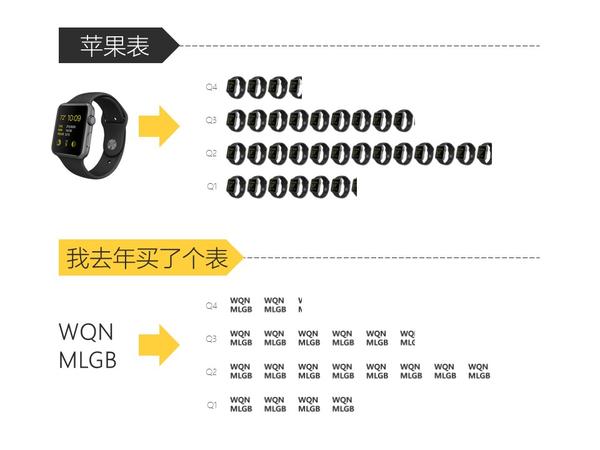
是的,用PPT也能玩转可视化~~
只要你会复制粘贴,就能做出比其他人专业一百倍的图表。
怎么做?超简单,以下是我年轻时写的一篇教程:


关于PPT好玩的技巧实在太多太多了,有空再补充。
在这抛个砖,引块玉,欢迎交流~
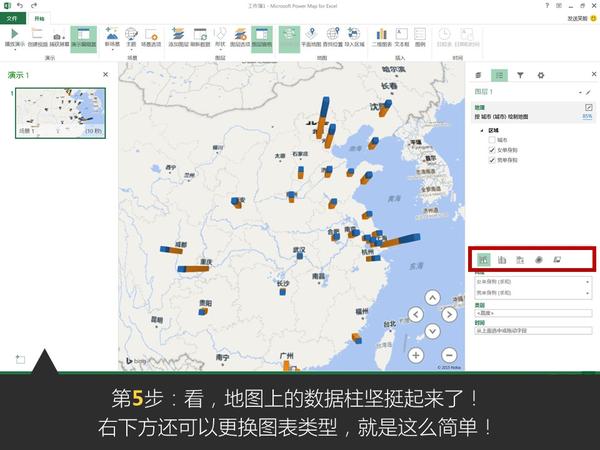
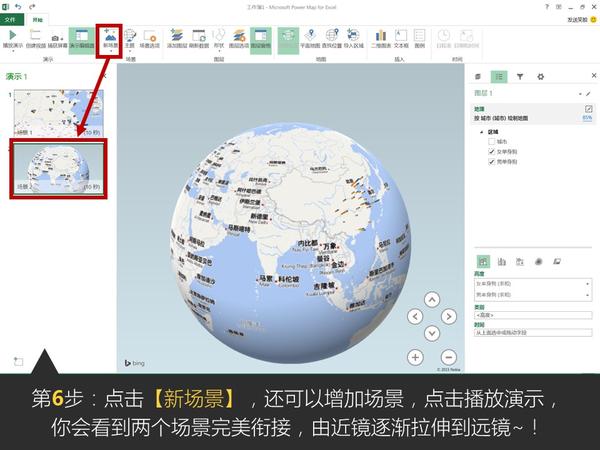
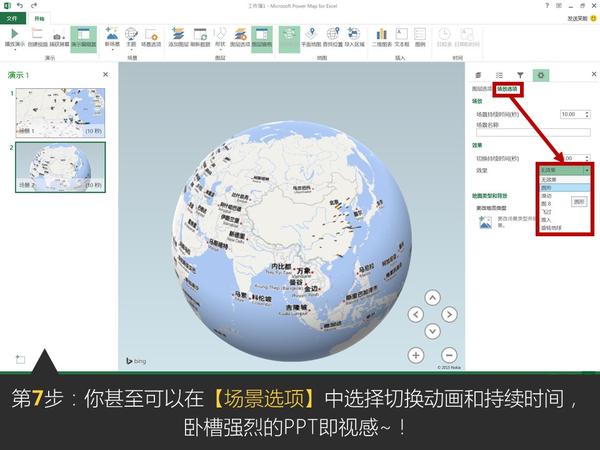
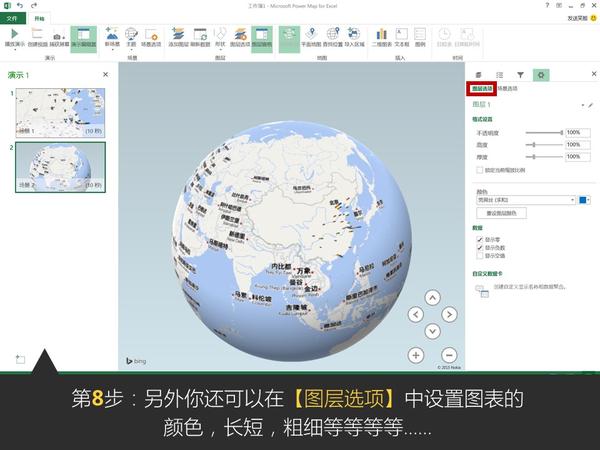
【被忽略的神器2】:Excel
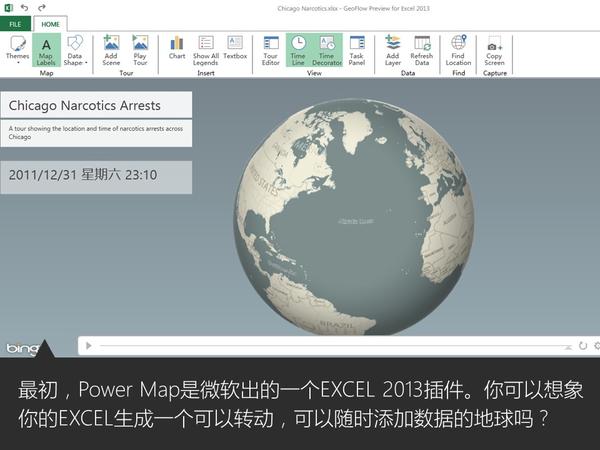
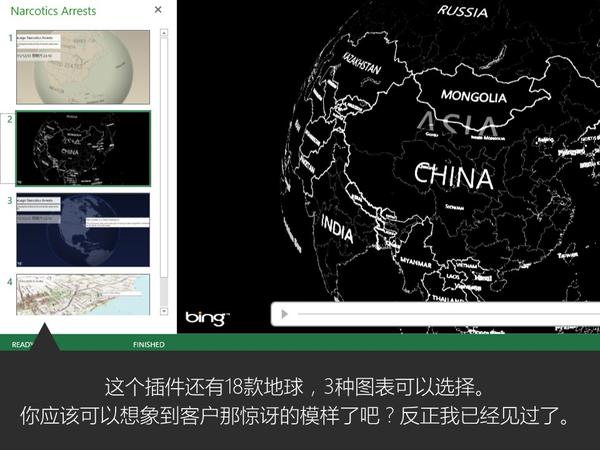
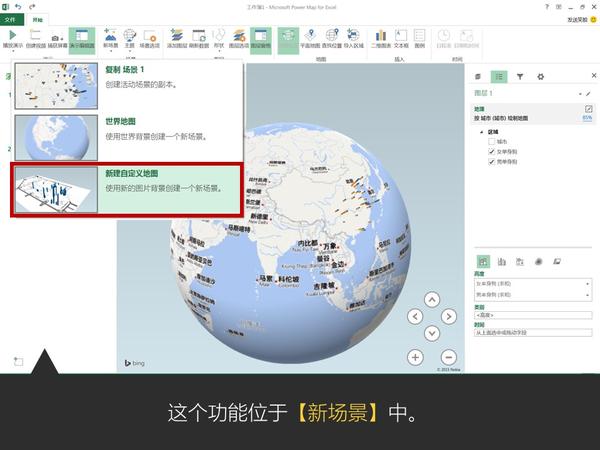
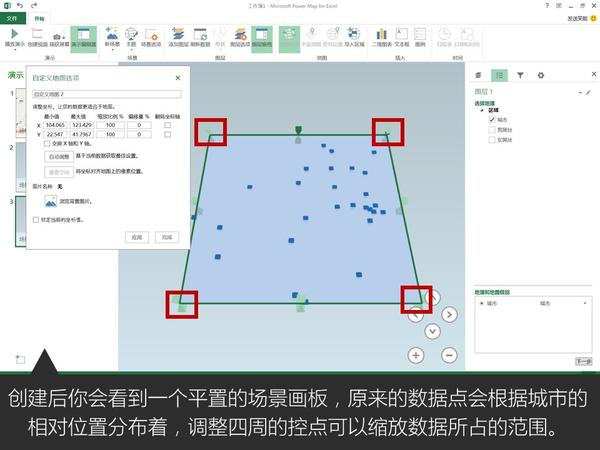
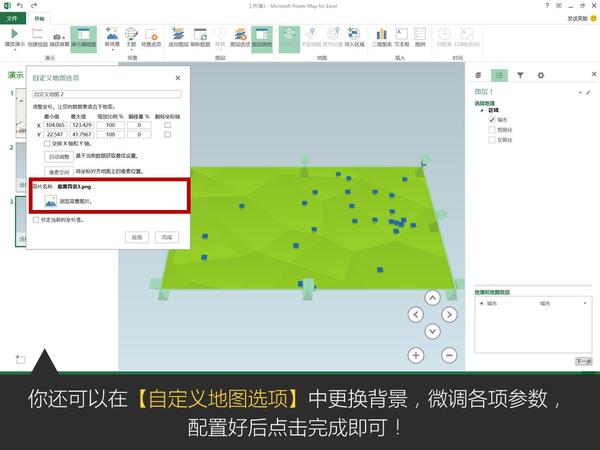
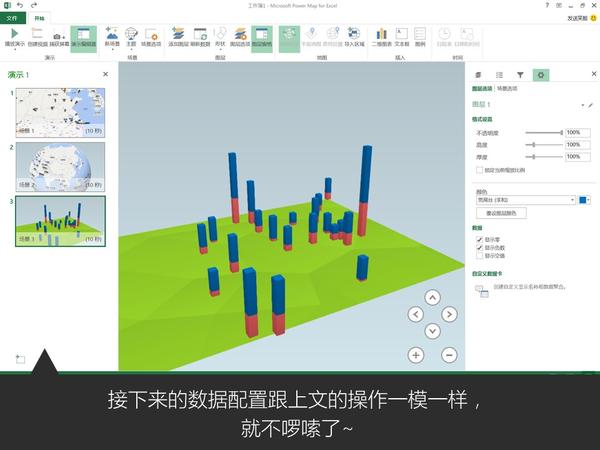
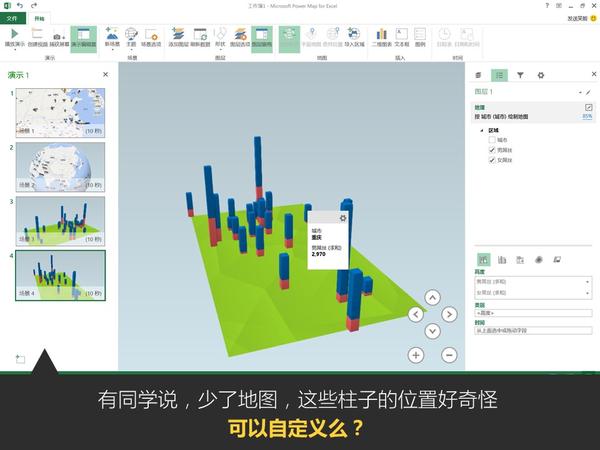
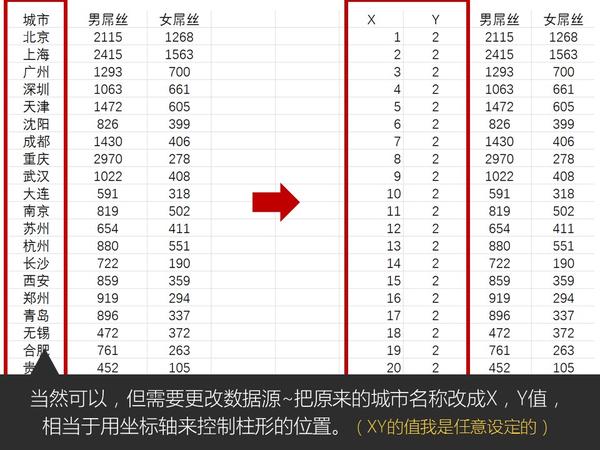
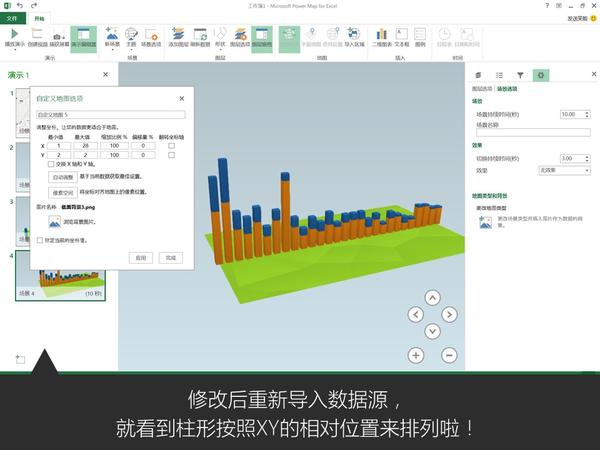
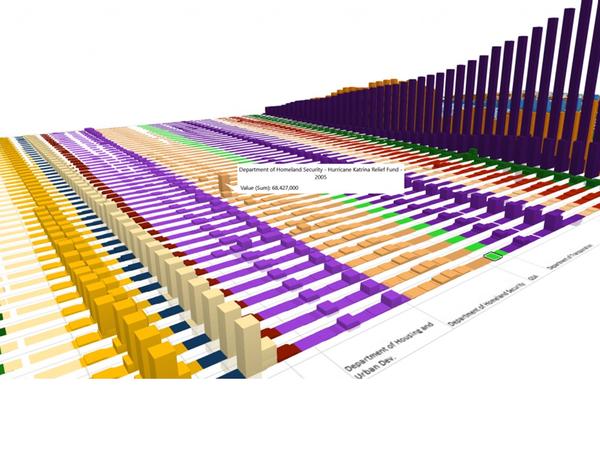
大家都知道Excel很强大,但你们是否知道它已经强大到很科幻的程度了呢?比如说,一秒钟生成一个酷炫会转动的地球:
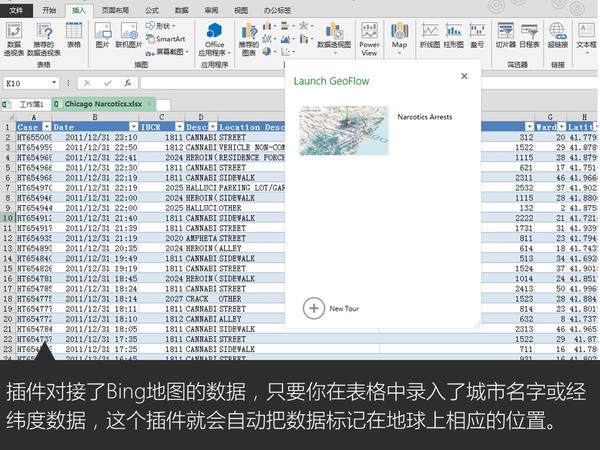
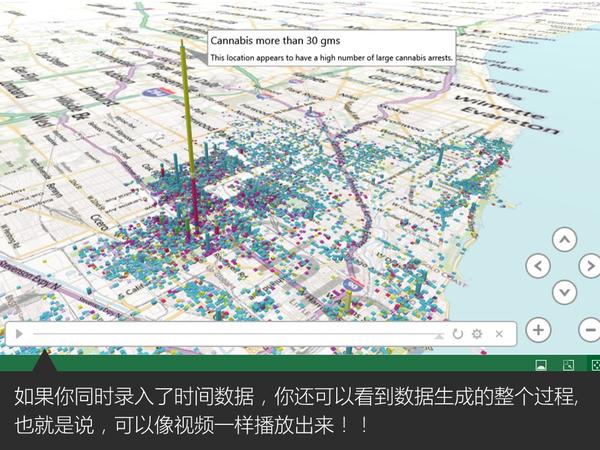
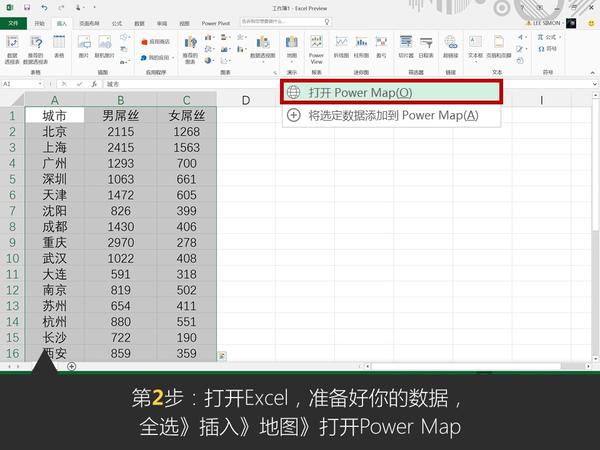
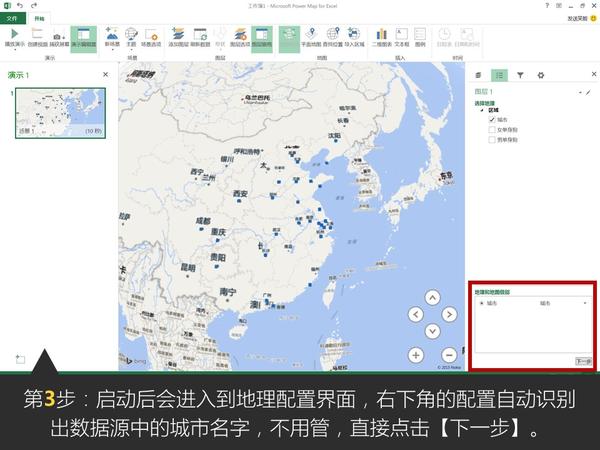
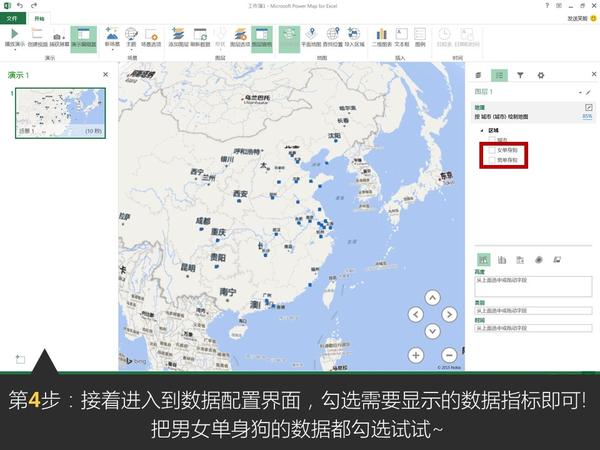
这是微软office官方在13年推出的一款Excel插件,叫Power Map,能让你随随便便就能做出吓死人的地域数据可视化。现在,这款插件已经内置在Excel 2016里了。具体怎么玩?超简单!可以看看我这个教程:


Excel中除了这个酷炫的插件外,还有一个鲜为人知的功能——Office 应用程序
(未完待续,稍后更新)
有时候我们并不需要盲目追求神器,用好你的基本工具,落叶飞花,皆可伤人!
再次感谢你能看到这里!
----------------------------------------
以上内容均节选/改编自:和阿文一起学信息图表
希望能对你有用,谢谢!

----------------------------------------
如果你喜欢我这个贱人,你可以到这些地方揍我:
【1】知乎专栏:我懂个P – 知乎专栏
【2】个人课程:和阿文一起学信息图表
和阿文一起学H5(2016新课)
邱晨的设计急诊室
【3】个人作品:Simon PPT原创作品下载地址
【4】微博:@Simon阿文
【5】公众号:我懂个P
