Problem We have two SQL 2005 64-bit clusters in our organization: a four-node production cluster and a two-node dev/test cluster. We recently migrated a database from SQL 2000 that relied on an Oracle linked server for some of it’s computations. No big deal, right? Install the Oracle client software and create the linked server just like in SQL 2000 right? Be sure to repeat the process on both nodes for failover-sake, right? Wrong. In the case of 64-bit SQL instances we have a few extra steps we need to take to get an Oracle linked server configured and working properly.
Solution 64-bit computing is coming of age. In most cases, our installation and configuration processes do not change from 32-bit to 64-bit: setting up logins, creating SQL Agent jobs; nothing inherently different there. Inconsistencies do exist however. Take for example linked servers – more specifically linked servers to Oracle databases. In 32-bit environments we simply install the Oracle client software, create the linked server, add remote logins and move on to the next project. In the 64-bit world the process is slightly more difficult – and in the case of one critical step it impacts any existing users on the instance!
Process Creating Oracle Linked Server on a 64-bit SQL Instance:
- Install Oracle 10g Release 2 64-bit client software (available from Oracle website)
- Install Oracle 10g Release 2 64-bit ODAC software (available from Oracle website)
- Restart SQL services
- Configure OraOLEDB.Oracle provider
- Create linked server
- Add remote logins for linked server
The complete process is presented below:
Step One: Installation of the Oracle 10g Release 2 64-bit client software
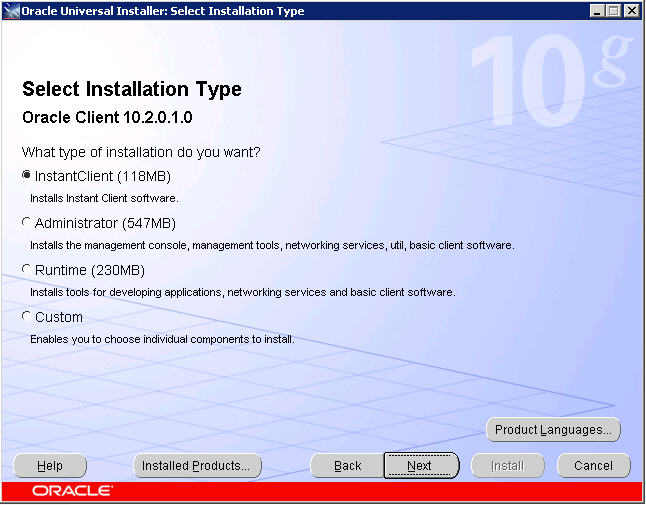
I will leave it up to you to secure the software by either download from their site or media available via any licensing agreements you may have with Oracle. The important steps are outlined below. You only need the barest install of the client. Simply go ahead and select the InstantClient option from the opening dialog form and click Next.
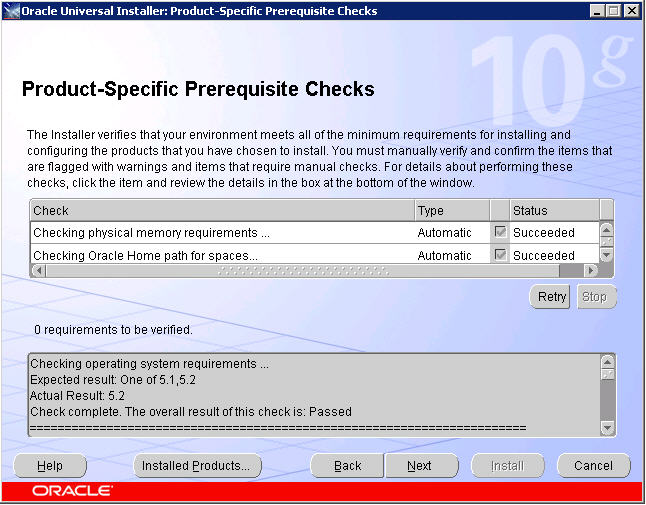
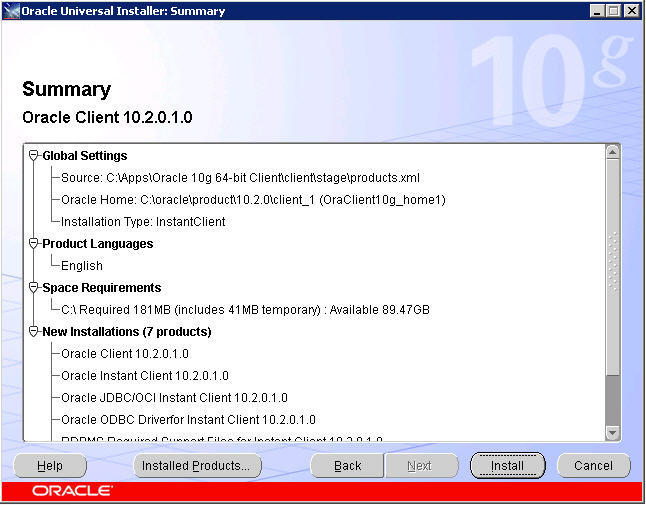
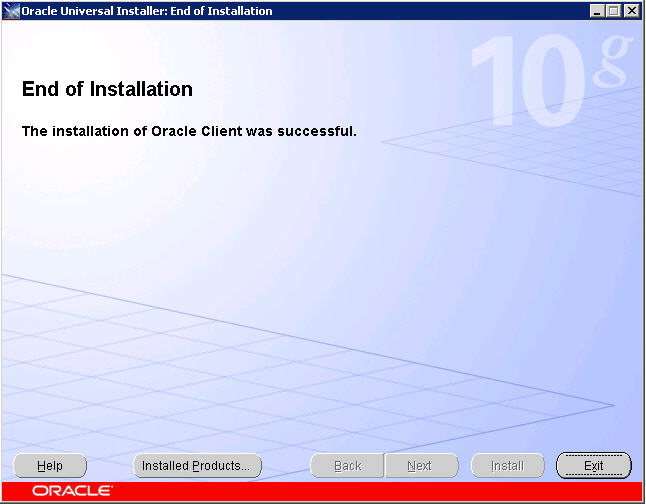
The following screens simply require you to click Next when enabled. These are in place to present the internal checks and summaries of work to be completed once you accept the install parameters. Proceed through the screens, click Install, and then Finish once the installation is complete.
Step Two: Installation Oracle 10g Release 2 64-bit ODAC software
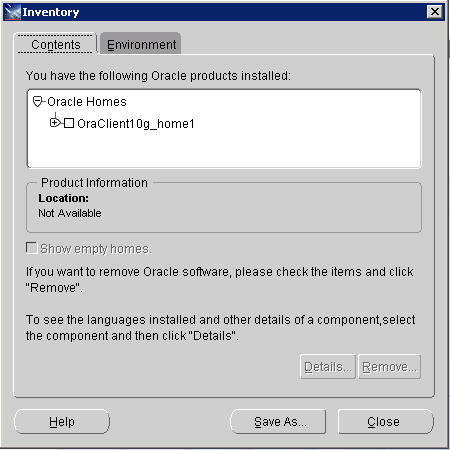
Once you have an installed 64-bit Oracle Home you can proceed with installing the ODAC drivers for a 64-bit environment. The OraOLEDB.Oracle driver installed in this step is what you need to set up your linked server. You’ll find the setup.exe for this installation located in the unzipped Install folder. I strongly suggest you review your previous installation of the client software via selecting the Installed Products button. You want to verify that you have a valid 64-bit Oracle Home that you’ll be installing against during this process. We would not be DBAs if we were not overly cautious. It’s quite Darwinian: the brash and risky don’t last long as Database Administrators.
If you accepted the defaults during the client installation, your “Installed Products” Inventory should appear as follows. If so, then close the dialog and click Next to continue. If not, then I suggest you revisit your installation of the client software, possibly de-installing and performing all steps presented previously once again.
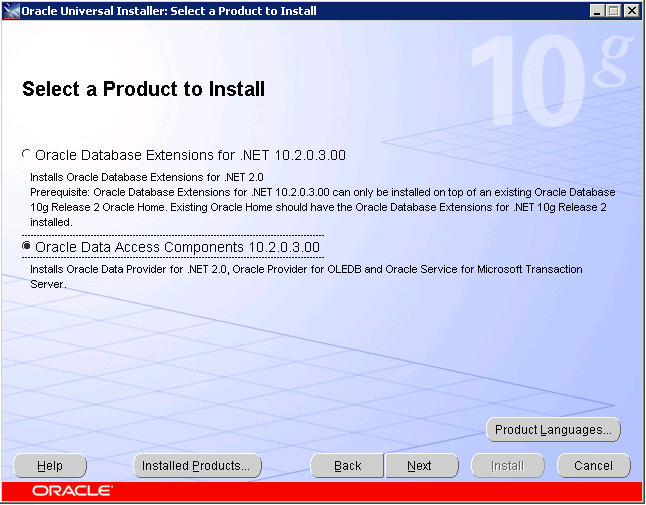
We will be installing the OraOLEDB.Oracle driver that is included in the Oracle Data Access Components option below. Select Next to continue.
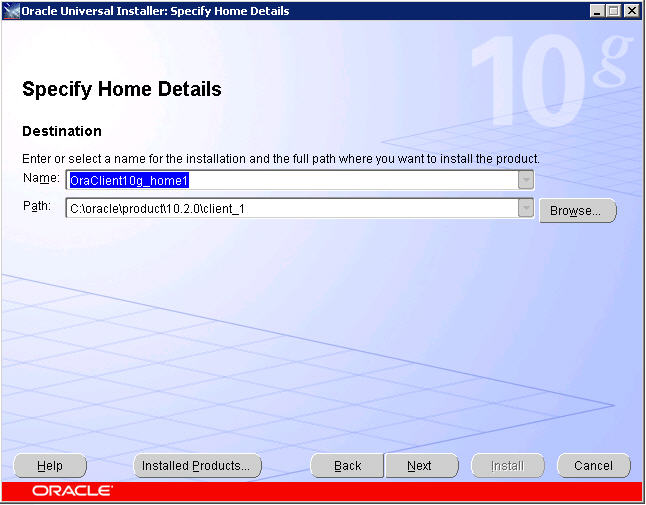
Using the drop-down box provided, select the existing Oracle Home you just verified was created as a part of your 64-bit Oracle client installation. The Path will automatically change accordingly. Continue by clicking Next.
You will be presented with the following sub-components. I’ve selected all three (you never know when these items may be useful and they are extremely lightweight) though you only really need to install the first two items.
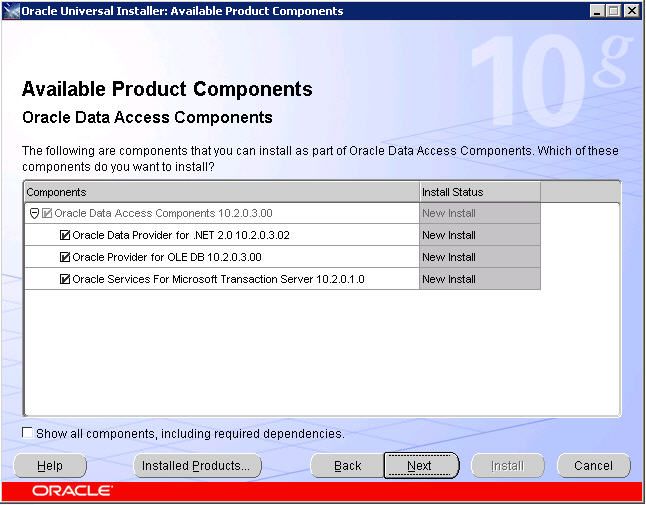
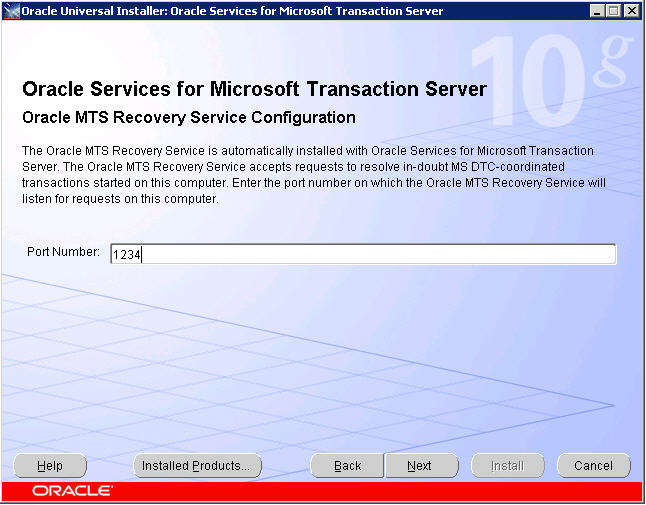
If you do decide to install the Oracle Services for Microsoft Transaction Server component, you’ll be prompted for the port number to use. The default is 2030.
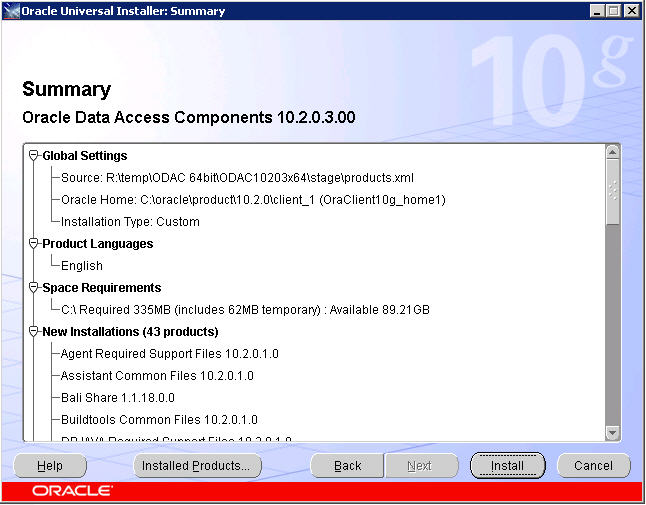
Click Next and you’ll be presented with the familiar summary screen, listing all components to be installed. Review, make changes if necessary and then click Install. Once completed we can move back to familiar territory: SQL Server Management Studio.
Step Three: Restart SQL Service
This is the most unfortunate step in the entire process. This is usually the last thing a DBA wants to do. It is the option of last resort whenever there is an issue on a SQL Server instance. However, it is necessary in this case, so be sure to follow your corporate procedures for downtime notifications and process. That being said, let’s move past this horrid step!
Step Four: Configure OraOLEDB.Oracle provider
I confess. I was not aware of this process existing until I had to do this the first time. In Object Explorer, navigate down the tree of the SQL instance we’ve been working with until you’re able to view the list of Providers under Linked Servers. Select OraOLEDB.Oracle and right-click.
SQL Server Management Studio.
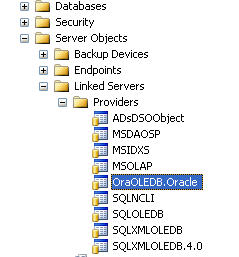
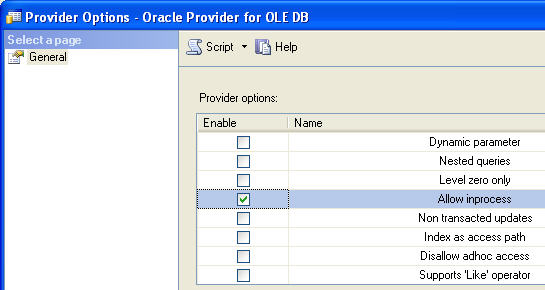
The Provider Options dialog box appears. Enable the “Allow inprocess” option and close the dialog. Now ask yourself: “Self, what did I just do? Some Internet Guy said click this and it will work.” Let’s take a quick look at exactly what enabling this option does for a provider. By default, OLE DB providers are instantiated outside of the SQL Server process. While this protects SQL from any OLE DB errors, Microsoft SQL Server requires that the OLE DB provider run in-process for handling BLOB-ish data types (text and images).
Step 5: Create Linked Server and Add Logins
Finally, something we’re all familiar with. The T-SQL is simple, and identical to the 32-bit platform.
--Create the Oracle Linked Server: EXEC sp_addlinkedserver @server, @srvproduct, @provider, @datasrc |
A quick explanation about the @datasrc parameter. Since our environment is clustered I do not like relying on an Oracle TNSname.ora file for our connection information. It is far cleaner to specify the data source in terms of the SERVER:PORT/DB_NAME format.
As for creating an associated login the format is:
| –Create the Remote Login for the Oracle Linked Server: EXEC sp_addlinkedsrvlogin @rmtsrvname, @useself, @rmtuser, @rmtpassword |
Briefly, the @useself parameter determines whether the current user in connects to the linked server source under its current context or via impersonation. By setting the value to FALSE you’re stating that you wish to connect to the linked server with a supplied login/password combination that is being identified in the @rmtuser and @rmtpassword parameters respectively. A value of TRUE would suggest that a login will use it’s own (current) credentials to connect to the linked server.
Creating a login for the LK_TIPS linked server we just created with a login of ‘sa’ and a password set to ‘password’ would look like this:
| EXEC sp_addlinkedsrvlogin ‘LK_TIPS’, ‘FALSE’, ‘sa’, ‘password’ |
Before you get any crazy ideas, I don’t suggest using sa/password as a combination for any system!
Next Steps
- Tweak T-SQL code provided to fit your environment
- If this is being configured in a cluster, be sure to install the Oracle client and ODAC components identically on all nodes in the cluster.
- Review related tips on linked servers on MSSQLTips.com.
